After waiting for some months, I saw the e-mail from VMware that VMware Server 2.0 has been released on about Friday, September 26, 2008. I don't want to use the beta version while I can find many other solutions like VirtualBox, MS Virtual Server / Hyper-V, and others.
Before install the VMware Server 2, you need to ask the product key first. Better prepare now than enter the product key later. You can download and request the product key here:
http://www.vmware.com/download/server/
VMware Server 2 for Linux: XXXX-XXXX-XXXX-XXXX
(I replaced the actual product key with X)
The install process is really easy if you already have known what is needed or what is the pre-requisites for this software to be installed.
This is the steps how I install the VMware Server 2.0 on my Ubuntu Desktop 64-bit.
I used Synaptic Package Manager to install apache; because this is the easiest way to setup the web server. I select apache2 and apache2-doc. All related dependencies will be automatically installed.
then I run this command to install xinetd:
# apt-get install xinetd
I verify that the apache has been already set to start automatically
# sysv-rc-conf --list | grep 'apache'
apache2 0:off 1:off 2:on 3:on 4:on 5:on 6:off
Because I run Ubuntu Desktop 64-bit, I already download the VMware-server-2.0.0-116503.x86_64.tar.gz, and I want to extract it on directory /src.
# tar -xzvf /media/My-Data/Software/VMware/vmware\ server/VMware-server-2.0.0-116503.x86_64.tar.gz -C /src
# cd /src/vmware-server-distrib/
# ./vmware-install.pl
If it installed successfully, it will output like this:
Starting VMware services:
Virtual machine monitor done
Virtual machine communication interface done
VM communication interface socket family: done
Virtual ethernet done
Bridged networking on /dev/vmnet0 done
Host-only networking on /dev/vmnet1 (background) done
DHCP server on /dev/vmnet1 done
Host-only networking on /dev/vmnet8 (background) done
DHCP server on /dev/vmnet8 done
NAT service on /dev/vmnet8 done
VMware Server Authentication Daemon (background) done
Shared Memory Available done
Starting VMware management services:
VMware Server Host Agent (background) done
VMware Virtual Infrastructure Web Access
Starting VMware autostart virtual machines:
Virtual machines done
The configuration of VMware Server 2.0.0 build-116503 for Linux for this
running kernel completed successfully.
When I first started the VMware Server 2.0, I was surprised with the new look. Although I know that the version 2 will be different, but not think that it will be so different than the previous versions.
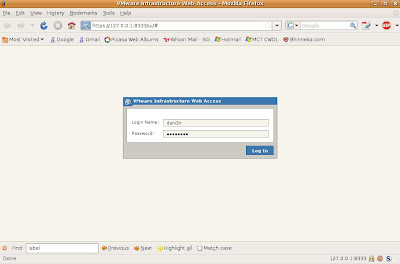
First, you have to manage using either Firefox 2 or Firefox 3. In the case of Firefox 3, may you will prompted like this:
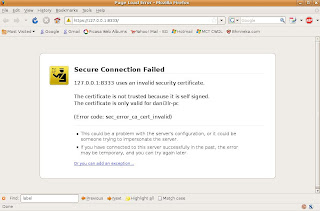
Click 'or you can add an exception...', click 'Add Exception..." button. In the 'Add Exception' window, click 'Get Certificate' button. I suggest you select 'Permanently store this exception' because you run from your own personal computer, then click 'Confirm Security Exception'.
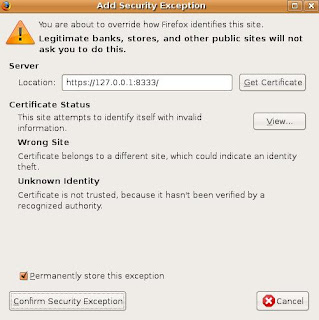
Make sure that you do not disable script for this site (https://127.0.0.1:8333), then you will get the login window:
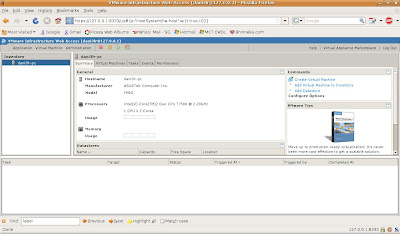
This is the first look of the VMware Server 2:
It's so much different than before, isn't it?
I suggest you to read the VMware Server 2 documentation for the rest steps, because it will take times to cover the details. At least I have included the VMware Server 2 installation steps and give you some snapshots from the first virtual machine I created by this software.
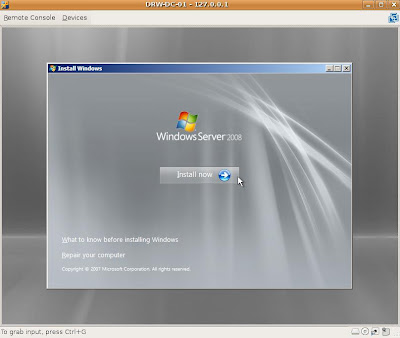
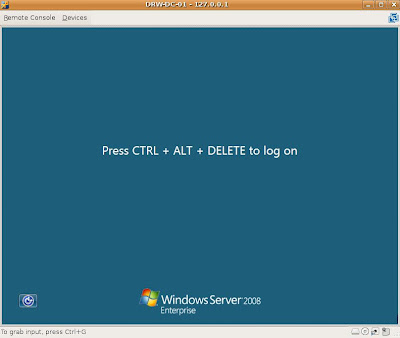
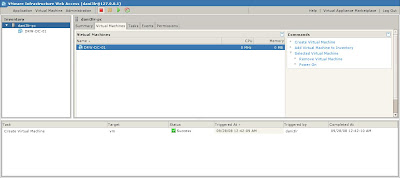
The first virtual machine (guest OS) I created running Windows Server 2008 64-bit.
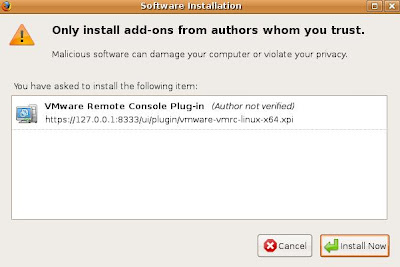
I need the VMware Remote Console. I do not want to see virtual machines running directly from small browser window, so I install the VMware Remote Console plugin.
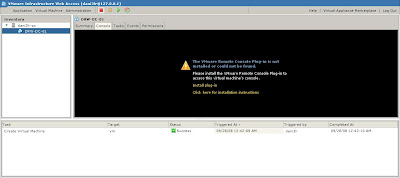
Here are the snapshots of my first virtual machines created on VMware Server 2.0: